Blog

  • Essential Plumbing Tips from an Exspurt Plumber

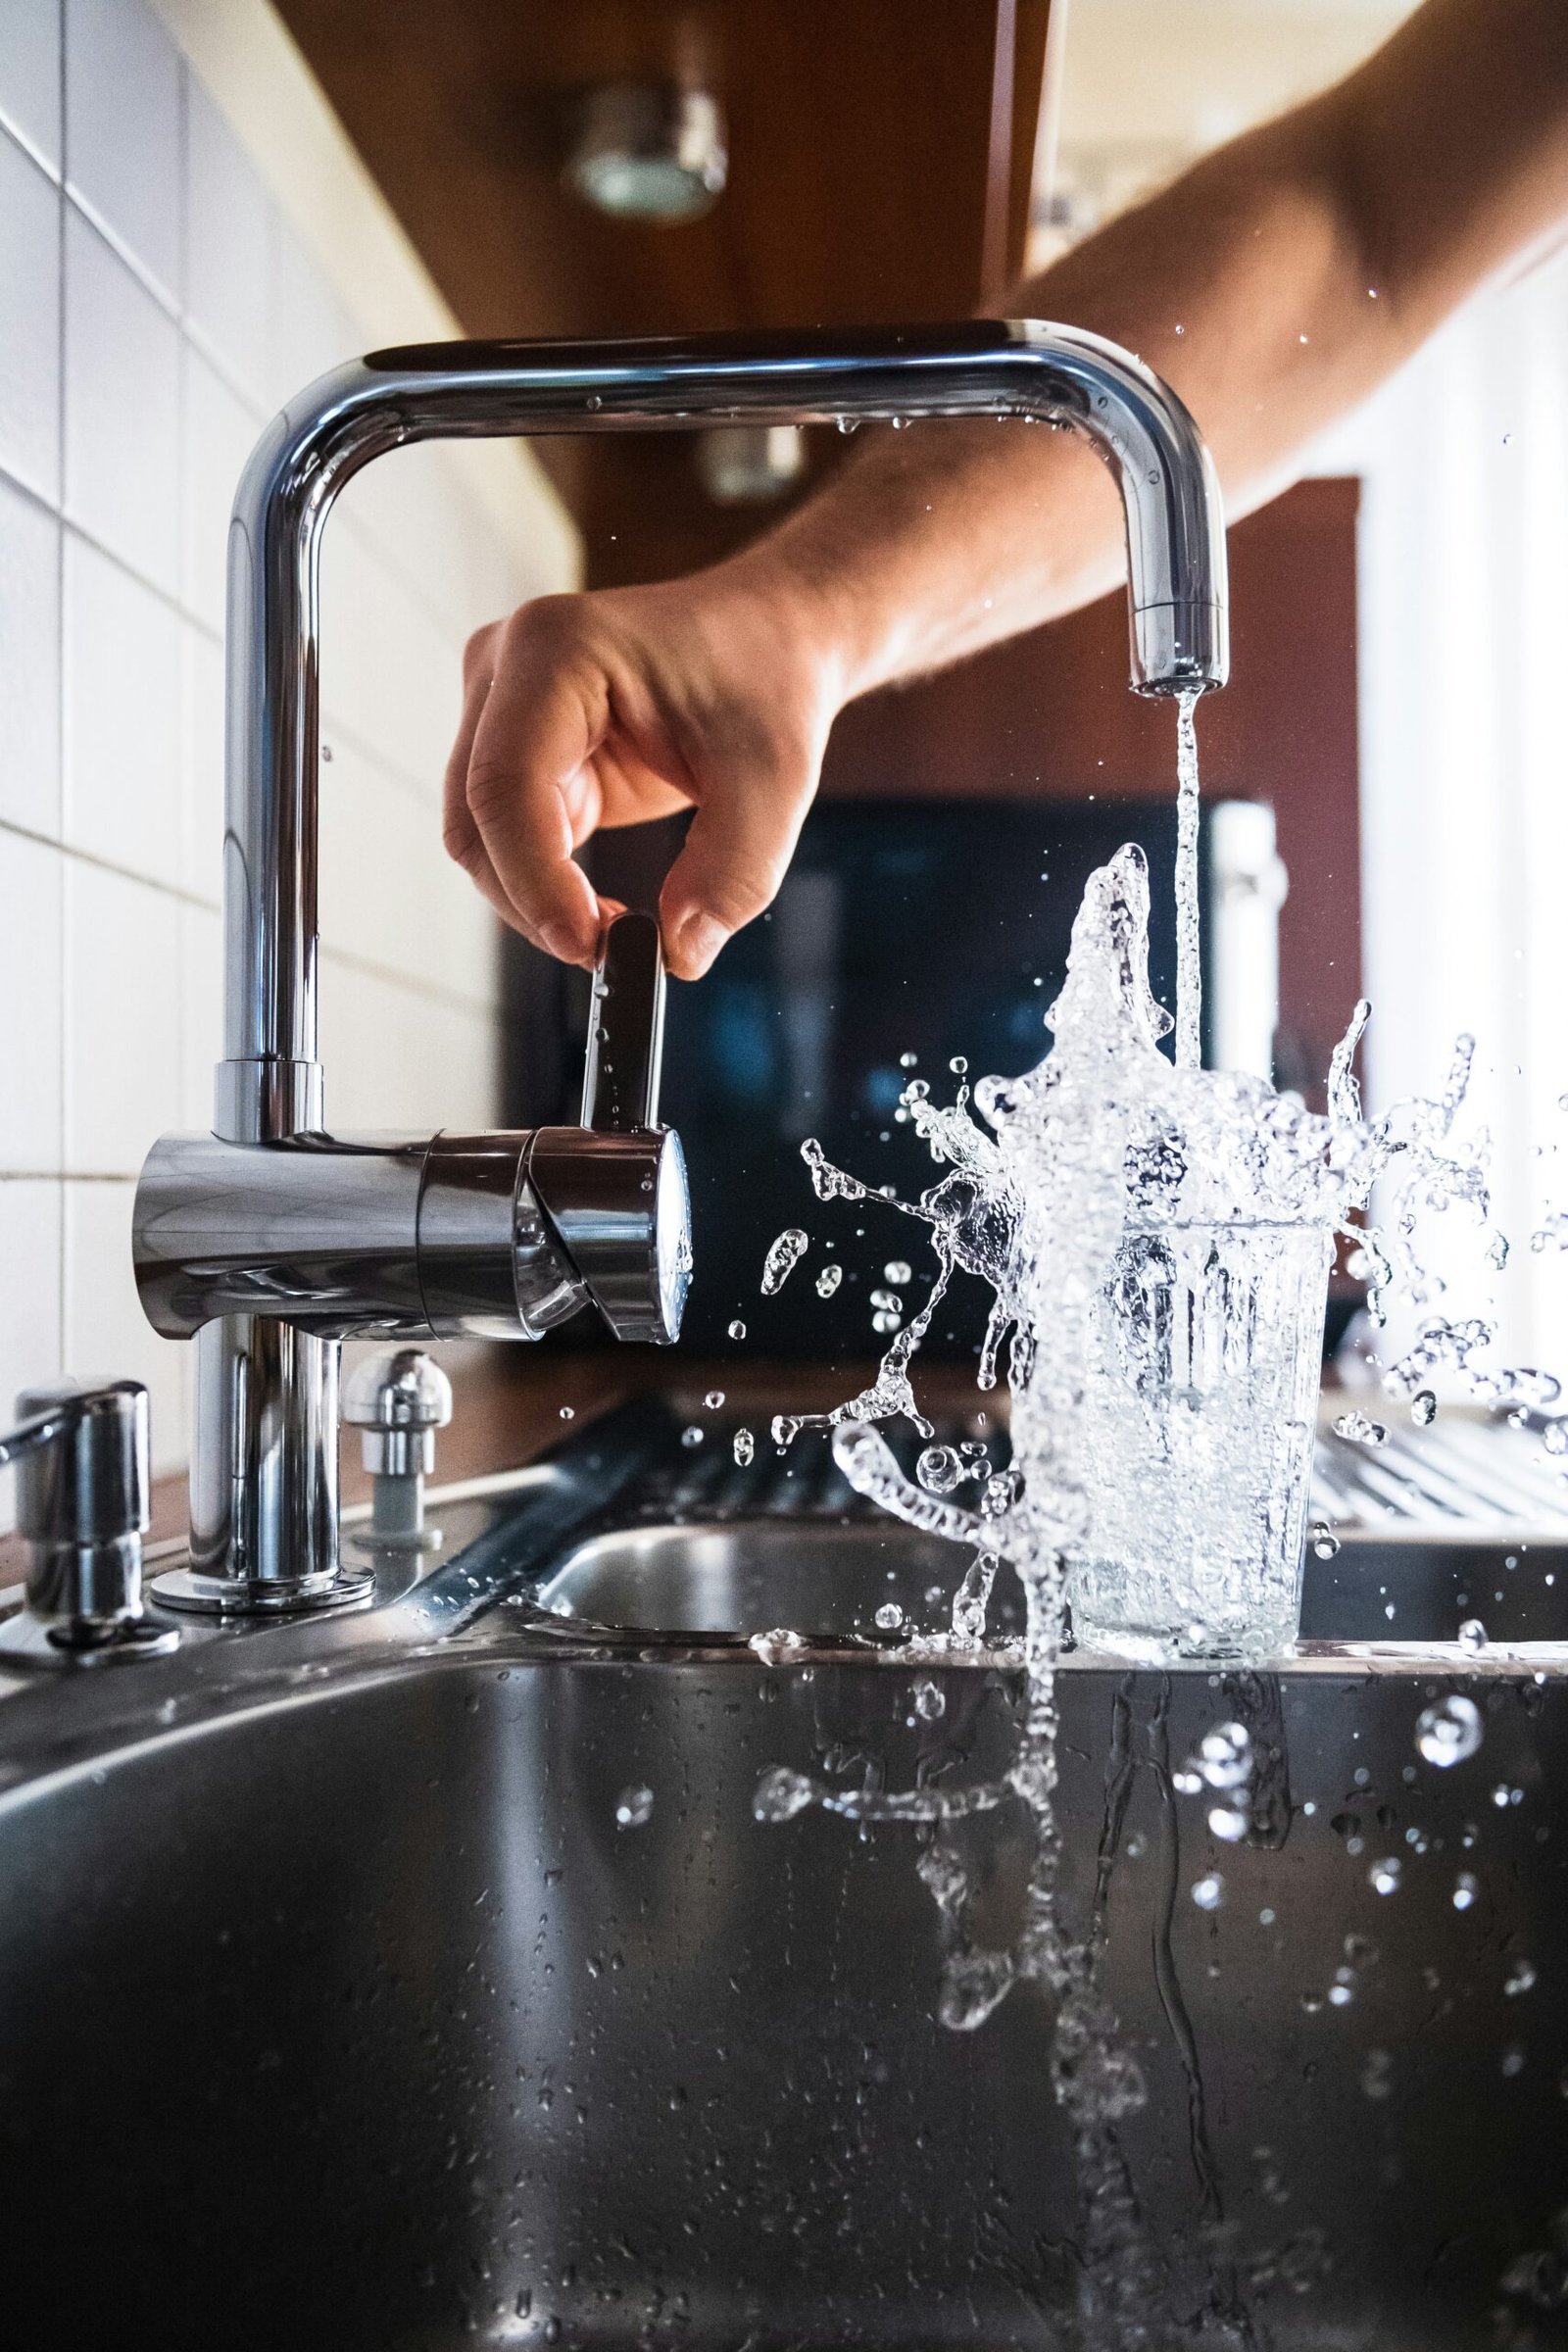
    person opening faucet

    Introduction to Plumbing Basics

    Embarking on a journey in plumbing, whether as a professional or a DIY enthusiast, can be daunting. Many aspiring plumbers lack guidance and confidence. Here, an expert plumber shares valuable tips to help you navigate through common plumbing challenges.

    Understanding Your Tools

    Before diving into any plumbing project, familiarize yourself with essential tools. Key items include a pipe wrench, plunger, and a variety of screwdrivers. Knowing the purpose of each tool will aid in your efficiency, whether you are fixing a leaky faucet or tackling a more complex installation.

    Common Plumbing Problems and Solutions

    Many plumbing issues are straightforward to resolve with the right approach. For instance, fixing a clogged drain can often be done using a plunger or an auger. If you encounter persistent leaks, it’s crucial to identify the source and replace gaskets or seals promptly. Always remember, when in doubt, don’t hesitate to consult more experienced plumbers or reference reliable plumbing tutorials.

    Being a successful plumber requires practice, patience, and a willingness to learn. Continue to explore various plumbing techniques and keep updating your skill set. This knowledge will not only improve your home plumbing skills but will also prepare you for potential professional opportunities in the future.

  • Dripping Tap driving you nuts?

    Introduction: A Drip Too Far!

    Ah, the joys of home maintenance! Nothing like the soothing sound of a dripping tap to keep you company at 3 AM. If you’re ready to silence that annoying leak and unlock your inner DIY guru, this step-by-step guide on changing a tap washer is just for you. Grab your tools and let’s get started!

    Tools You’ll Need

    Before you dive in, ensure you have the following tools ready:

    • Adjustable wrench
    • Flathead screwdriver
    • Replacement tap washer
    • Towel (for that pesky water!)

    Don’t worry; if you don’t have a replacement washer yet, your local hardware store will happily assist you – just don’t forget to measure your old washer!

    Step-by-Step Guide

    1. Turn Off the Water Supply: This is a crucial step, unless you fancy a mini fountain in your kitchen. Typically, the shut-off valves are located under the sink. 2. Remove the Tap Handle: Use your flathead screwdriver to remove any screws holding the tap handle. Once it’s off, you’ll unveil the inner workings that lie beneath; cue the dramatic music!3. Unscrew the Tap Valve: With your adjustable wrench, carefully unscrew the valve. Just do it slowly, lest you unleash a torrent of water in your face! 4. Inspect and Replace the Washer: Now, it’s time for the main event. Remove the old washer and replace it with the new one, ensuring it fits snugly. Don’t skip this step unless you enjoy leaks like a fun party trick! 5. Reassemble and Test: Reassemble everything in reverse order. Turn the water supply back on and test your handiwork. If the drips are gone, celebrate with a well-deserved cup of tea!

    Conclusion: You Did It!

    Congratulations! You’ve just tackled your first DIY task with grace and humor. With a new tap washer, not only have you saved yourself some money, but you also achieved something many do not. Now, go forth and spread your wisdom – or at least share a link to this guide!